How to Convert HEIC to JPG on Windows: 5 Methods
HEIC files from iPhones won't open on Windows by default. Here are the fastest ways to convert them to JPG format that works everywhere.

If you've received photos from an iPhone user and can't open them on your Windows PC, you've hit a common compatibility wall: HEIC format. Apple's High Efficiency Image Container (HEIC) has become the default for iPhones since iOS 11, but Windows treats it like a foreign language. The frustration is real—according to recent coverage from PCMag, HEIC compatibility remains one of the top reasons Windows users feel stuck with Apple's proprietary formats. The good news is that converting HEIC to JPG on Windows takes just a few minutes and requires no special software. Whether you're dealing with a single photo or a batch of files, this guide walks you through every practical method available to you.
Why Windows Doesn't Support HEIC (And Why JPG Is the Answer)
HEIC is Apple's answer to efficiency. It compresses images more effectively than JPG, which is why iPhones use it by default—saving storage space and bandwidth. But that efficiency comes at a cost: adoption. Windows, Chrome, Firefox, and most web platforms still don't natively support HEIC. When you email a HEIC photo from an iPhone to a Windows user, or upload it to a shared drive, the recipient often sees a generic file icon instead of a preview.
JPG (JPEG), by contrast, is the universal standard. Developed in 1992, it's supported by literally every device, browser, and software platform in existence. It's not technically superior to HEIC—it's just ubiquitous. Converting HEIC to JPG on Windows solves the immediate problem of compatibility while keeping your image quality intact for everyday use. The file size difference is usually negligible unless you're storing thousands of photos.
The decision between keeping HEIC or converting to JPG depends on your workflow. Professional photographers might archive in HEIC to save space; everyone else benefits from the simplicity of JPG. For Windows users receiving iPhone photos, JPG is the practical choice.
Method 1: Use a Free Online HEIC Converter (Fastest Option)
If you want the path of least resistance, browser-based conversion is your answer. No installation, no learning curve, no compatibility worries. Services like wrrk.space's HEIC to JPG converter let you upload a file, convert it in seconds, and download the result—all without creating an account or waiting for email links.
The process is straightforward: open the tool in any browser, drag your HEIC file into the upload area (or click to browse), and click convert. Within seconds, you'll have a JPG file ready to download. This method works on any Windows PC, Mac, or even a phone. There's no size limit on some tools, though most cap files around 50-100 MB for performance reasons. If you're converting multiple photos, batch tools often let you upload 5-10 files at once.
The main advantage of online converters is speed and simplicity. You don't need to troubleshoot software installation or deal with file associations. The main concern for some users is privacy—if you're converting sensitive photos, check the tool's privacy policy. Reputable converters like wrrk.space process files on your device (in-browser) rather than uploading to servers, so your images stay private.
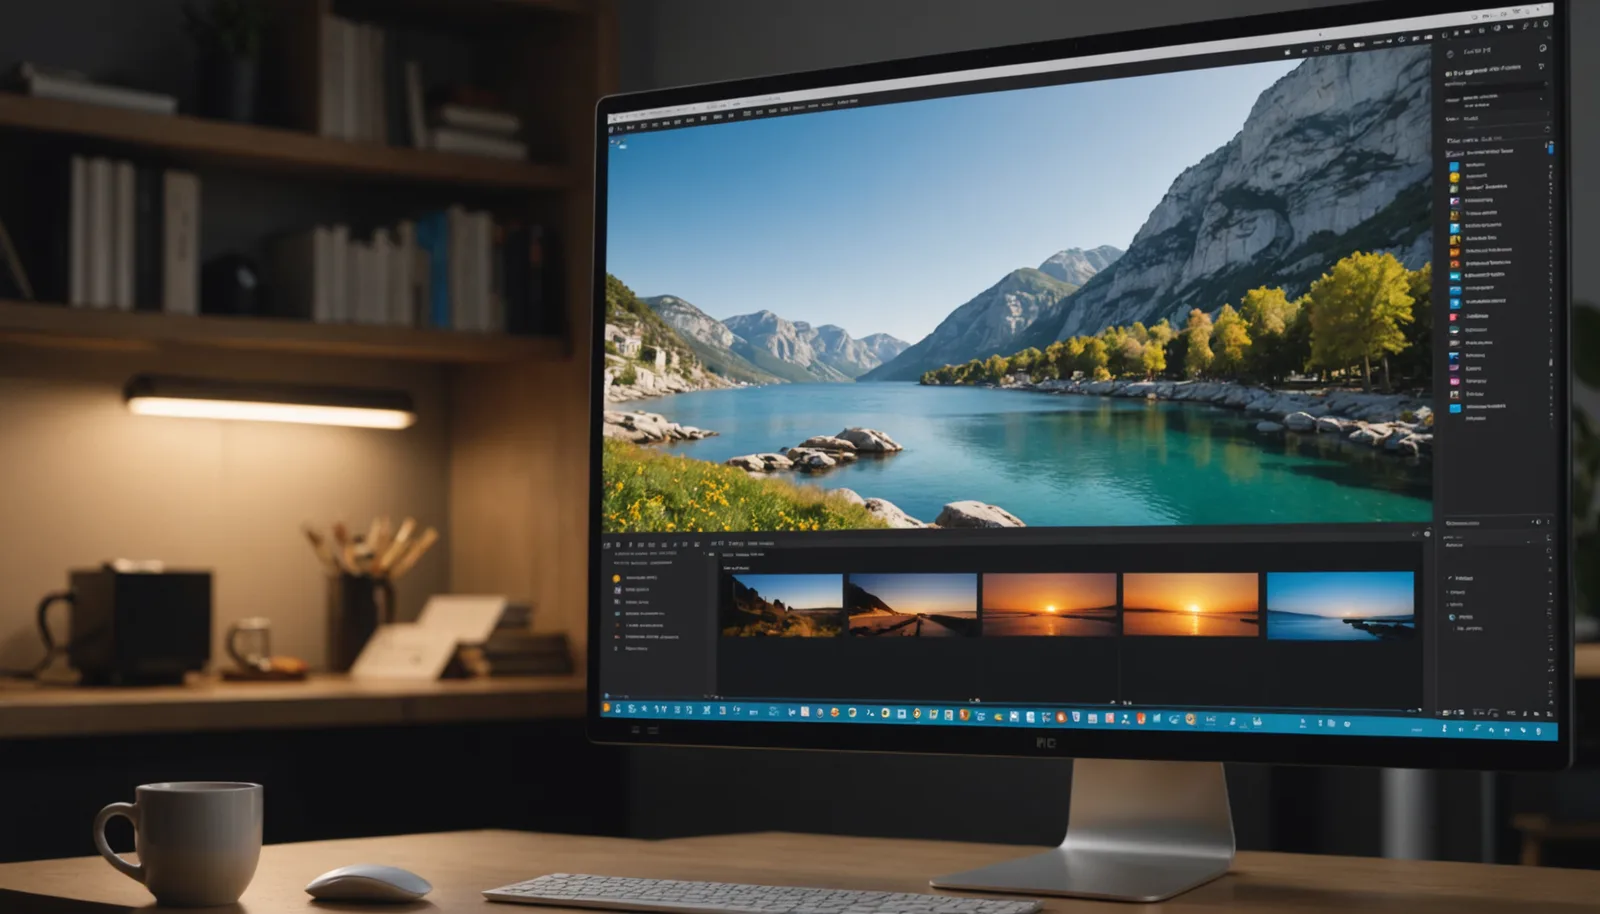
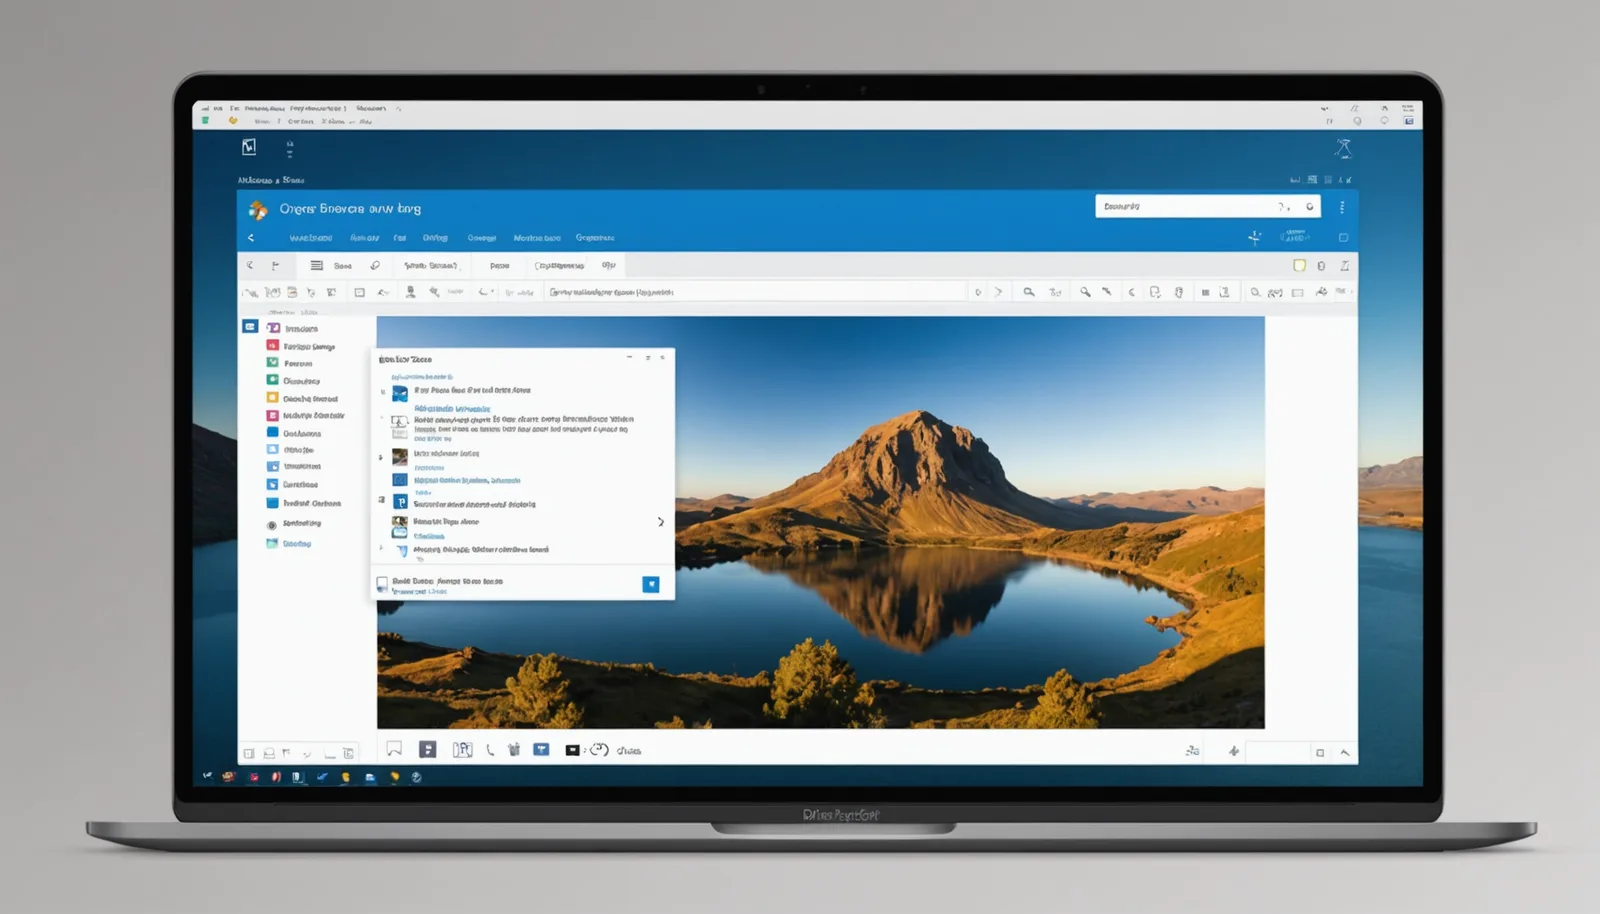
Method 2: Use the Microsoft Store Photos App (Built-In Option)
Windows 10 and 11 both include a Photos app that can handle HEIC files if you install the HEIC Image Extensions from the Microsoft Store. This is technically a free workaround, though it requires a few extra steps. Open the Microsoft Store on your Windows PC, search for 'HEIC Image Extensions,' and install it. Once installed, the Photos app will recognize HEIC files and display them as thumbnails.
To convert using the Photos app, right-click the HEIC file and select 'Open with > Photos.' Once the image opens, click the three-dot menu icon in the upper right, select 'Edit & Create,' then 'Save as.' A dialog box will appear asking you to choose the output format—select JPG and choose your location. The conversion happens instantly. This method is reliable and keeps everything within Windows' native ecosystem.
The drawback is the HEIC Image Extensions aren't installed by default, and many users don't know they exist. The Photos app also isn't ideal for batch conversions if you have dozens of files. For a one-off conversion or a handful of photos, though, it's a solid free option that doesn't require leaving Windows.
Method 3: Try Online Image Conversion Websites (Batch-Friendly)
Beyond dedicated HEIC converters, general-purpose image sites like CloudConvert, Online-Convert, and Zamzar also support HEIC to JPG conversion. These tools often include batch processing, allowing you to upload 5-20 files at once and convert them all simultaneously. The process is similar to single-file converters: upload, select the output format, convert, and download a ZIP file containing all your converted images.
These platforms are useful if you're already familiar with them for other file conversions (PDF to Word, MP4 to MP3, etc.). Many offer advanced options like image resizing, quality adjustment, and watermarking. However, they typically require email for downloading results and sometimes throttle speeds unless you pay. For casual users, the extra step of email delivery adds friction compared to instant downloads.
A word of caution: some free conversion sites display aggressive ads or collect user data. Stick with well-known platforms or, better yet, use a tool specifically designed for HEIC conversion that prioritizes privacy and speed. The Lifehacker guide from earlier this year confirmed that dedicated HEIC converters tend to be faster and more straightforward than general-purpose alternatives.
Method 4: Download Desktop Software (For Power Users)
If you convert HEIC files regularly—say, you work with iPhone photos daily—desktop software might be worth the install. Programs like XnView, IrfanView, and Adobe Lightroom all support HEIC import on Windows. XnView is free and lightweight; Lightroom requires a subscription but offers advanced editing alongside conversion. Simply import the HEIC file, configure your output settings (quality, size), and export as JPG.
Desktop software is powerful if you need to batch-process 100+ images or apply consistent edits across a folder. You can set up automated workflows, resize all images to a specific dimension, and adjust quality settings once rather than per-file. For photographers or content creators, this efficiency adds up quickly. The trade-off is a slightly steeper learning curve and the commitment of storage space on your hard drive.
Most desktop converters are one-time purchases ($20–$50) or subscription-based (Adobe, $10–$20/month). For occasional users, the online options above are more economical. For professionals, desktop software integrates better with existing photo workflows and offers more control over the output.
Frequently asked questions
+−Can I convert HEIC to JPG without downloading software?
Yes. Online HEIC to JPG converters work entirely in your browser with no download required. Simply upload your file, click convert, and download the JPG. This is the fastest option for most Windows users.
+−Will converting HEIC to JPG reduce image quality?
Minimal quality loss occurs if you export to JPG at 85-95% quality. Since JPG uses lossy compression, the image will be slightly different from the original HEIC, but the difference is invisible to the human eye for most photos.
+−Can I convert multiple HEIC files at once on Windows?
Yes. Many online converters and desktop software support batch processing. Upload 5-20 files simultaneously, select JPG as the output format, and download all converted images as a ZIP file.
+−Is it safe to use online HEIC converters with private photos?
Reputable converters process files in your browser, meaning your images never leave your device. Always check the tool's privacy policy and look for 'in-browser processing' or 'no server upload' claims before converting sensitive files.