How to Compress an Image Without Losing Quality
Discover how to compress images without sacrificing quality. We'll walk you through the best methods, tools, and settings to shrink file sizes while keeping your photos sharp.
Every day, millions of images are uploaded to the web—yet most users have no idea their photos are 3–5 times larger than necessary. Large image files slow down websites, eat up storage, and make sharing a headache. The good news: you don't have to choose between quality and file size. In this guide, we'll show you exactly how to compress an image without losing quality, using techniques that work for PNG, JPG, WebP, and more. Whether you're optimizing for a website, preparing files for email, or freeing up phone storage, the right approach makes all the difference.
Why Image Compression Matters (Beyond File Size)
Image compression isn't just about saving disk space. A single unoptimized photo can be 5–10 MB, while the same image compressed properly might be 500 KB—a 90% reduction with no visible difference to the human eye. For web developers and content creators, this directly impacts user experience: every 100 ms of page delay can reduce conversions by 1%, according to industry benchmarks. Slower load times frustrate visitors, increase bounce rates, and hurt search engine rankings.
Beyond performance, compression saves real money. Businesses storing thousands of images on servers pay per gigabyte. Email services often cap file sizes. Social media platforms like Instagram automatically compress uploads anyway—so uploading bloated files wastes bandwidth. Photographers and designers working with clients benefit too: delivering compressed files without quality loss builds trust and professionalism.
The key insight: modern compression algorithms are sophisticated enough to remove data your eye can't perceive, while keeping every detail that matters. This is why you can compress an image by 70–80% and see virtually zero quality difference when viewed at normal size.
Lossless vs. Lossy Compression: Which Should You Use?
Before you compress your image, you need to understand the two main compression methods. Lossless compression reduces file size while preserving every pixel of original data—when you decompress it, you get the exact same image back. Formats like PNG and WebP (in lossless mode) use this approach. Lossy compression, used by JPEG and WebP (lossy mode), removes some data that the human eye typically can't detect—like subtle color gradations or fine texture details. The trade-off: lossy files are smaller, but you can never recover the original.
Lossless compression works best for images where every detail matters: screenshots, logos, graphics with text, and illustrations. A PNG file preserves crisp edges and exact colors, making it ideal for web design assets. Lossy compression is perfect for photographs, complex images with many colors, and scenarios where file size is critical—like mobile apps or slow internet connections.
The smart strategy combines both. Use lossless compression when you need perfect fidelity, and lossy when file size must come first. Many professionals optimize further by converting to modern formats: WebP delivers 25–35% better compression than JPEG at the same quality level, according to tools benchmarked in 2026. You can compress your image using an online tool that supports multiple formats, letting you test which method gives you the best balance for your specific needs.
Best Practices for Compressing Images Without Quality Loss
Start by choosing the right format. For photos and complex images, JPEG remains standard, but WebP is increasingly superior. For graphics, text, and images requiring transparency, PNG is your baseline. For the best of both worlds—modern compression with quality control—use WebP in lossy mode with a quality setting of 75–85. This sweet spot typically delivers 2–3x smaller files than JPEG while maintaining visual fidelity that's imperceptible to most viewers.
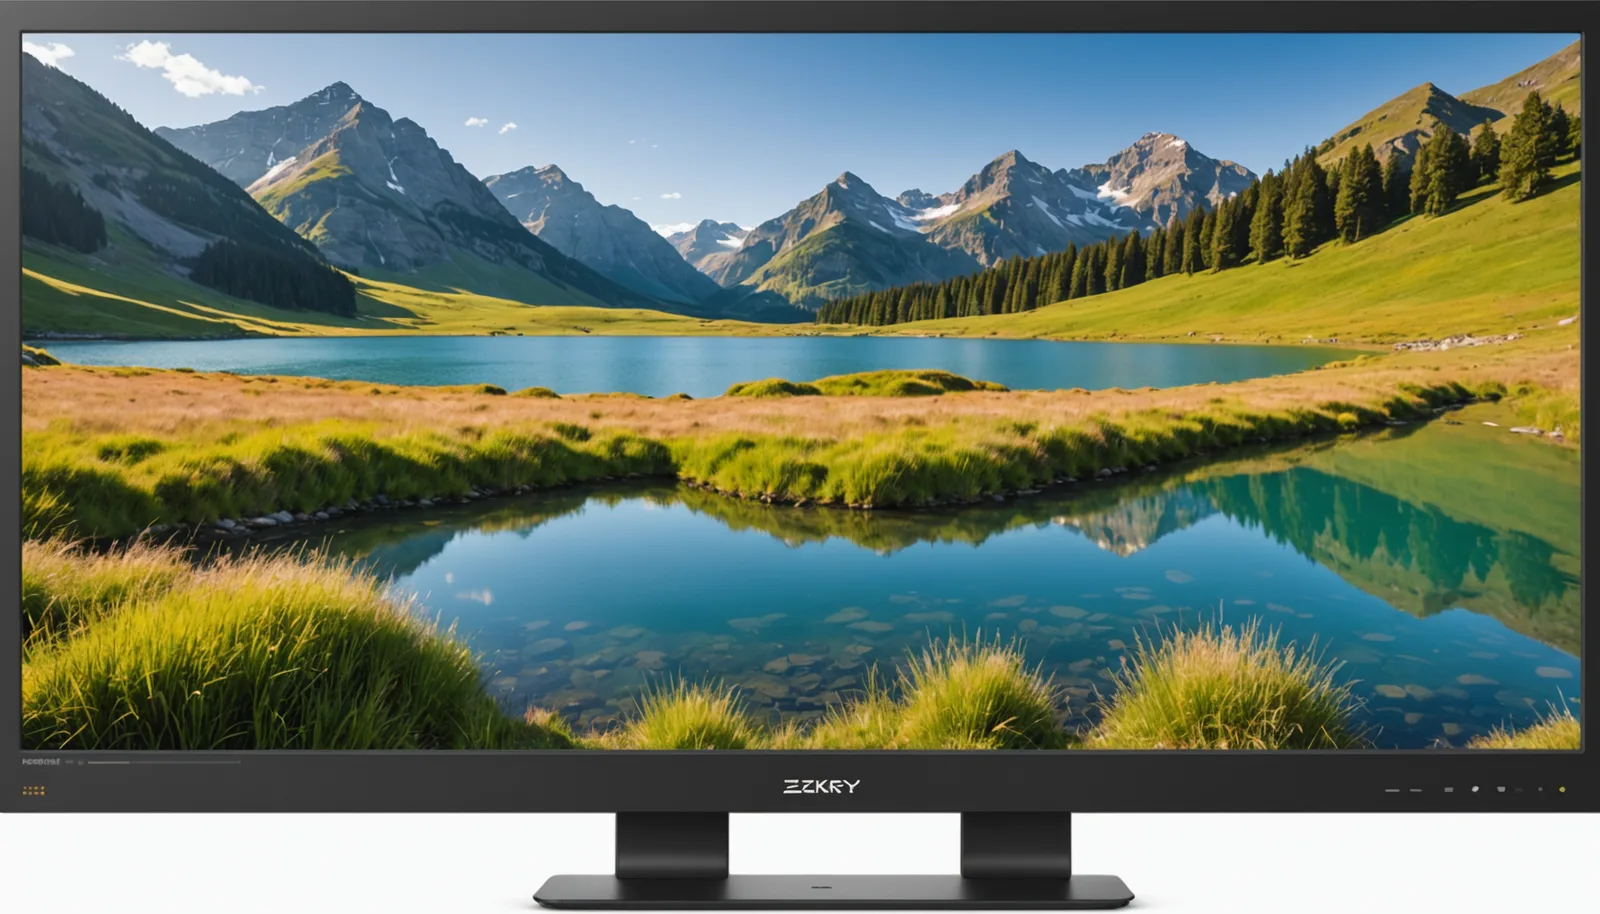
Resolution matters more than you think. Many people compress images that are larger than they need. A hero image for a blog post doesn't need to be 4000×3000 pixels if it will display at 1200×800. Resizing down before compression can cut file size dramatically. For web use, 1200–1600 px wide is usually sufficient. For social media, check platform recommendations: Instagram optimizes for 1080×1350 px for portrait posts, so uploading anything larger wastes file size.
Batch processing saves time if you're handling multiple images. Many desktop tools and online services let you upload 5–50 files at once and apply the same compression settings across all of them. This ensures consistency and beats doing it one-by-one. If you're working with dozens of images regularly, scripting tools like ImageMagick or online services that support bulk uploads are worth learning.
Tools and Settings for Reliable Image Compression
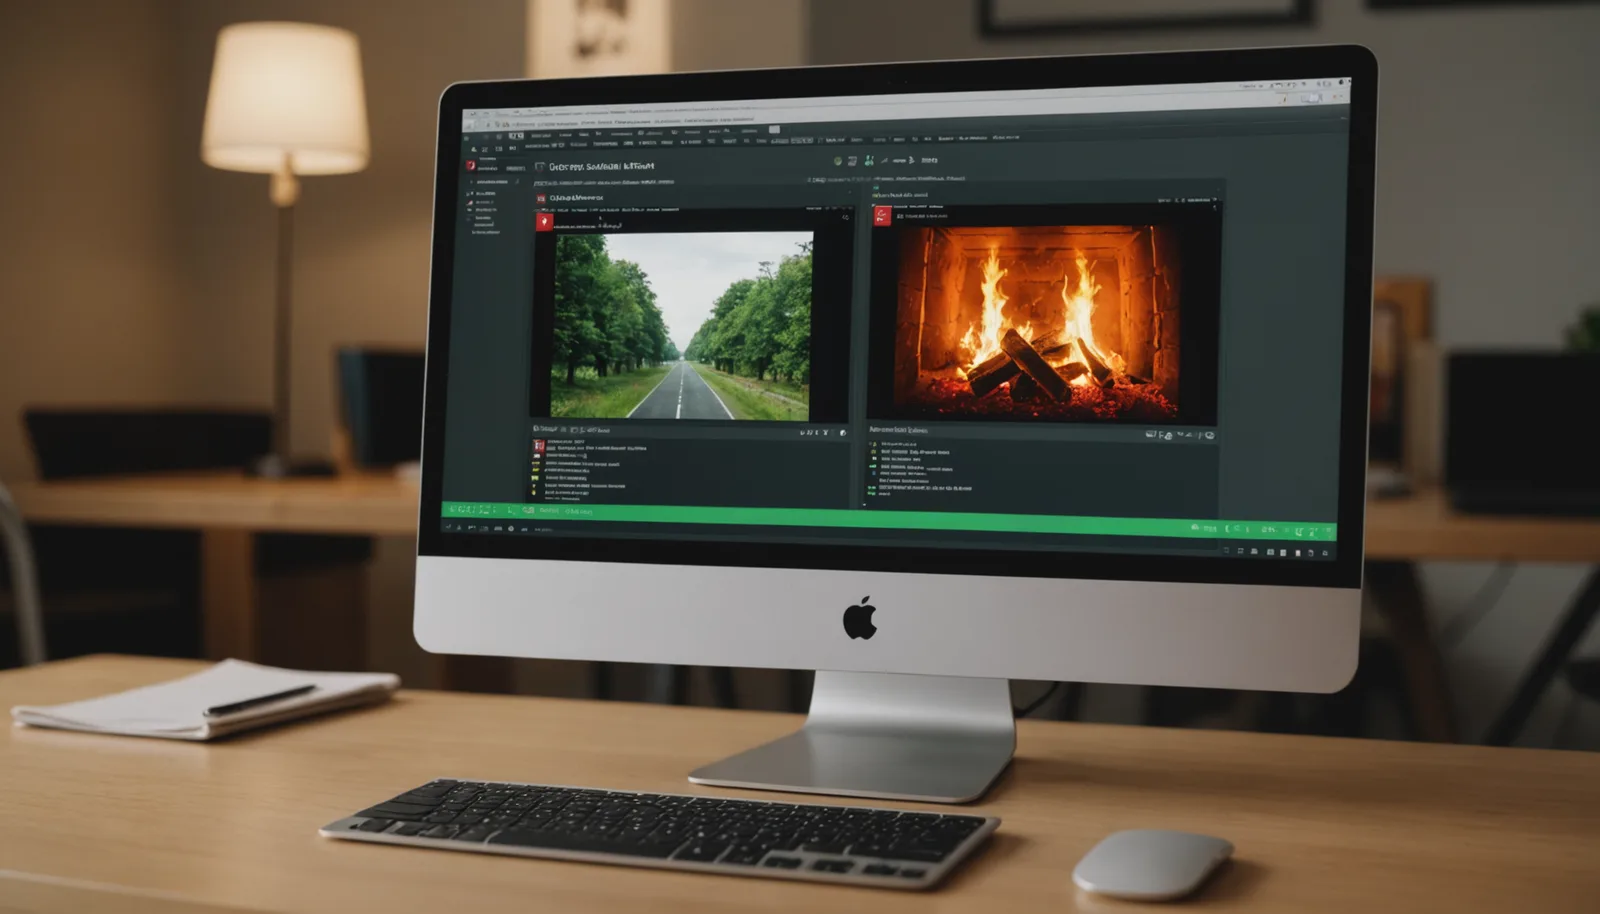
You have three main options: desktop software, online tools, and command-line utilities. Desktop software like Adobe Lightroom, Photoshop, or free alternatives like GIMP give you granular control over quality sliders and format options, but require installation and learning curves. Command-line tools like ImageMagick are powerful for automation and batch work, but demand technical knowledge. For most users, online tools offer the best balance: no installation, instant results, and a visual interface where you can see quality tradeoffs in real time.
When using any compression tool, look for quality or compression-level controls. In most interfaces, you'll see a slider from 1–100 (or 'low to high'). For lossy formats like JPEG, aim for 75–85 on a 100-point scale—this is where you see minimal visible quality loss while gaining substantial file size reduction. For PNG and lossless WebP, compression level doesn't affect visual quality (it's already perfect), only file size, so max out compression level without hesitation.
Testing is crucial. Before committing to compression settings for 100 images, apply them to one sample and view it full-screen on your device. If it looks sharp and colors appear accurate, you've found your sweet spot. Modern image compression services include before-and-after previews, making this easy. You can compress your image and instantly see the new file size—for example, a 3 MB JPEG might become 400 KB as WebP at quality 80, with no perceptible loss to the naked eye.
Frequently asked questions
+−What's the best format for compressing images for the web?
WebP is the modern best choice, offering 25–35% better compression than JPEG at equivalent quality. If your audience uses older browsers, JPEG remains reliable. For graphics and logos, PNG is ideal. Most modern browsers support all three, so test with your audience's typical devices.
+−Can I compress an image without losing quality at all?
Yes, lossless compression removes zero visible data. PNG and lossless WebP are fully reversible—no quality loss occurs. Lossy formats like JPEG do discard some data, but at quality settings above 75, the loss is imperceptible to human vision on normal-sized displays.
+−How much can I reduce file size before quality suffers?
For lossy formats, you can typically reduce file size by 70–80% (using quality 70–80) while maintaining imperceptible quality loss on standard displays. Lossless compression typically achieves 40–60% reduction. The exact amount depends on image content—high-detail photos compress less than simple graphics.
+−Is it safe to use online image compression tools?
Yes, reputable tools like wrrk.space process images locally in your browser—files never touch a server. Always check the privacy policy, avoid sites with aggressive ads, and never use tools asking for personal data. Free, no-signup tools are generally safer than those requiring registration.